Popular Posts

Friday, August 29, 2014

Hat and Mask Making


Hat and Mask Making
by: Jason Tan Liwag


Materials:
  • Colored Paper
  • String/Yarn
  • Coloring Materials
  • Glue
  • Scissors
  • Puncher (optional)

Methods:

  1. Ask your kid what type of head wear he/she would like or what kind of mask he/she would like
  2. Cut out a mask /hat/tiara of similar shape
  3. Decorate it with your kid
  4. Punch a hole on the ends of the mask and tie a yarn to those ends

When is the Structured Activity Perfect for: 
All year round

Type of Output of the Structured Activity: 
Material Output? Arts and Crafts

Level of Difficulty:
Easy (less than 30 minutes)

Gender Applicability:
Both

Age Group:
0-15 (difficult for 1 year old and below)

Possible Alternative Materials:
Any material you deem fit as long as it is usable and within your budget

Problems Previously Encountered:
  • Mask can deteriorate easily if kid sweats a lot
  • Hat/mask may not properly be placed ontop of the kid's head/on his face so make sure it fits and it isn't too loose or too tight.
Occasion/s when structured activity is most appropriate:
  • Perfect for Halloween
Samples
Better to create hats/headwear/tiaras based on your child's favorite Disney character (even if that character doesn't wear a hat)

Links
http://www.livinglocurto.com/wp-content/uploads/2011/04/tiara-printable-photo-260x260-fs-0004.jpg

http://t2.gstatic.com/images?q=tbn:ANd9GcRCzhv1DAq6ez
dc1gnnM0YGIyFCqZDzDh4lV
sonopRWpE1IwplHKA

https://www.flickr.com/photos/toyrescue/5168396978/

Sunday, August 17, 2014

Music Therapy

Music Therapy
by Jason Tan Liwag

Materials:
  • Sheet of lyrics of songs
  • Musical instruments/toys

Methods:

  1. Hand the sheet of lyrics to the Kythers
  2. Play music and dance along!
  3. Help the kid sing with the lyrics and with you!
  4. If the kid does not want to sing, you can make him/her play musical instruments/toys 

When is the Structured Activity Perfect for: 
All year round


Type of Output of the Structured Activity: 
Experience/New Knowledge

Level of Difficulty:
Easy (less than 30 minutes)

Gender Applicability:
Both

Age Group:
All age groups (may be difficult for kids under 2 years old)

Problems Previously Encountered:

  • Uncooperative or shy kids
  • May generate a lot of noise
Occasion/s when structured activity is most appropriate:
  • Christmas time
  • Okay for all seasons


Scout Sash and Merit Badges


Scout Sash and Wilderness Explorer Badges
by Jason Tan Liwag

 http://media-cache-ak0.pinimg.com/736x/24/9e/02/249e0276726f92f13e97227cf839847f.jpg

Materials:
  • Cartolina (different colors)
  • Yarn (different colors)
  • White Paper Circles (varying sizes - can be made with oslo paper, bond paper or even cartolina; make IN BULK)
  • Scissors
  • Coloring Materials
  • Double-sided tape/glue/tape
  • Optional: Ribbons/Ribbon-like material

Detailed Instructions:

Scout Sash:
  1. Measure your kid's torso diagonally (how he would wear the sash) and cut a width of cartolina according to the measurement you made
  2. Punch two holes on the opposite ends of this cartolina
  3. Attach the appropriately colored yarn onto those two ends

Merit Badges:
  1. Get appropriately-sized white paper circles (can also be made with cartolina)
  2. Ask your child about his/her experiences and make badges that reflect those experiences; you can ask them to create badges about likes and dislikes as well
  3. Stick these badges using tape or glue onto the scout sash
  4. MAKE MORE AND MORE as you get to know your kid! Make another one with your experience with him and give it to him

Challenge:
We encourage kids to interact with one another so THIS IS THE CHALLENGE: Make a badge or two for the kid on the other bed/for other kids


When is the Structured Activity Perfect for: 
  • February
  • August
  • October
  • November 

Type of Output of the Structured Activity: 
Material Output/ Arts and Crafts

Level of Difficulty:
Medium (30-45 minutes)

Gender Applicability:
Both

Age Group:
Possibly enjoyable for 0-15; though applicable to all ages

Possible Alternative Material/s:
Can use colored paper for the badges as well

Problems Previously Encountered:
  • If the kid is not wearing clothes, it might contribute to him/her not being able to make it or his/her sweat might make the product crumble

Occasion/s when structured activity is most appropriate:
  • Any event with costumes such as Halloween

Link for Russel's Badges:
http://zeezeezeez.wordpress.com/2009/11/28/up-russels-badges/

Friday, July 18, 2014

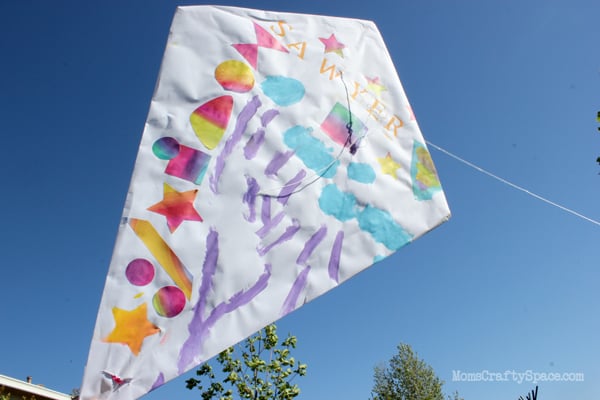
Kite Craft

Kite Craft
by All Kids Network


Objective:
Your task is to make a customized paper kite

Materials:

  • Construction Paper
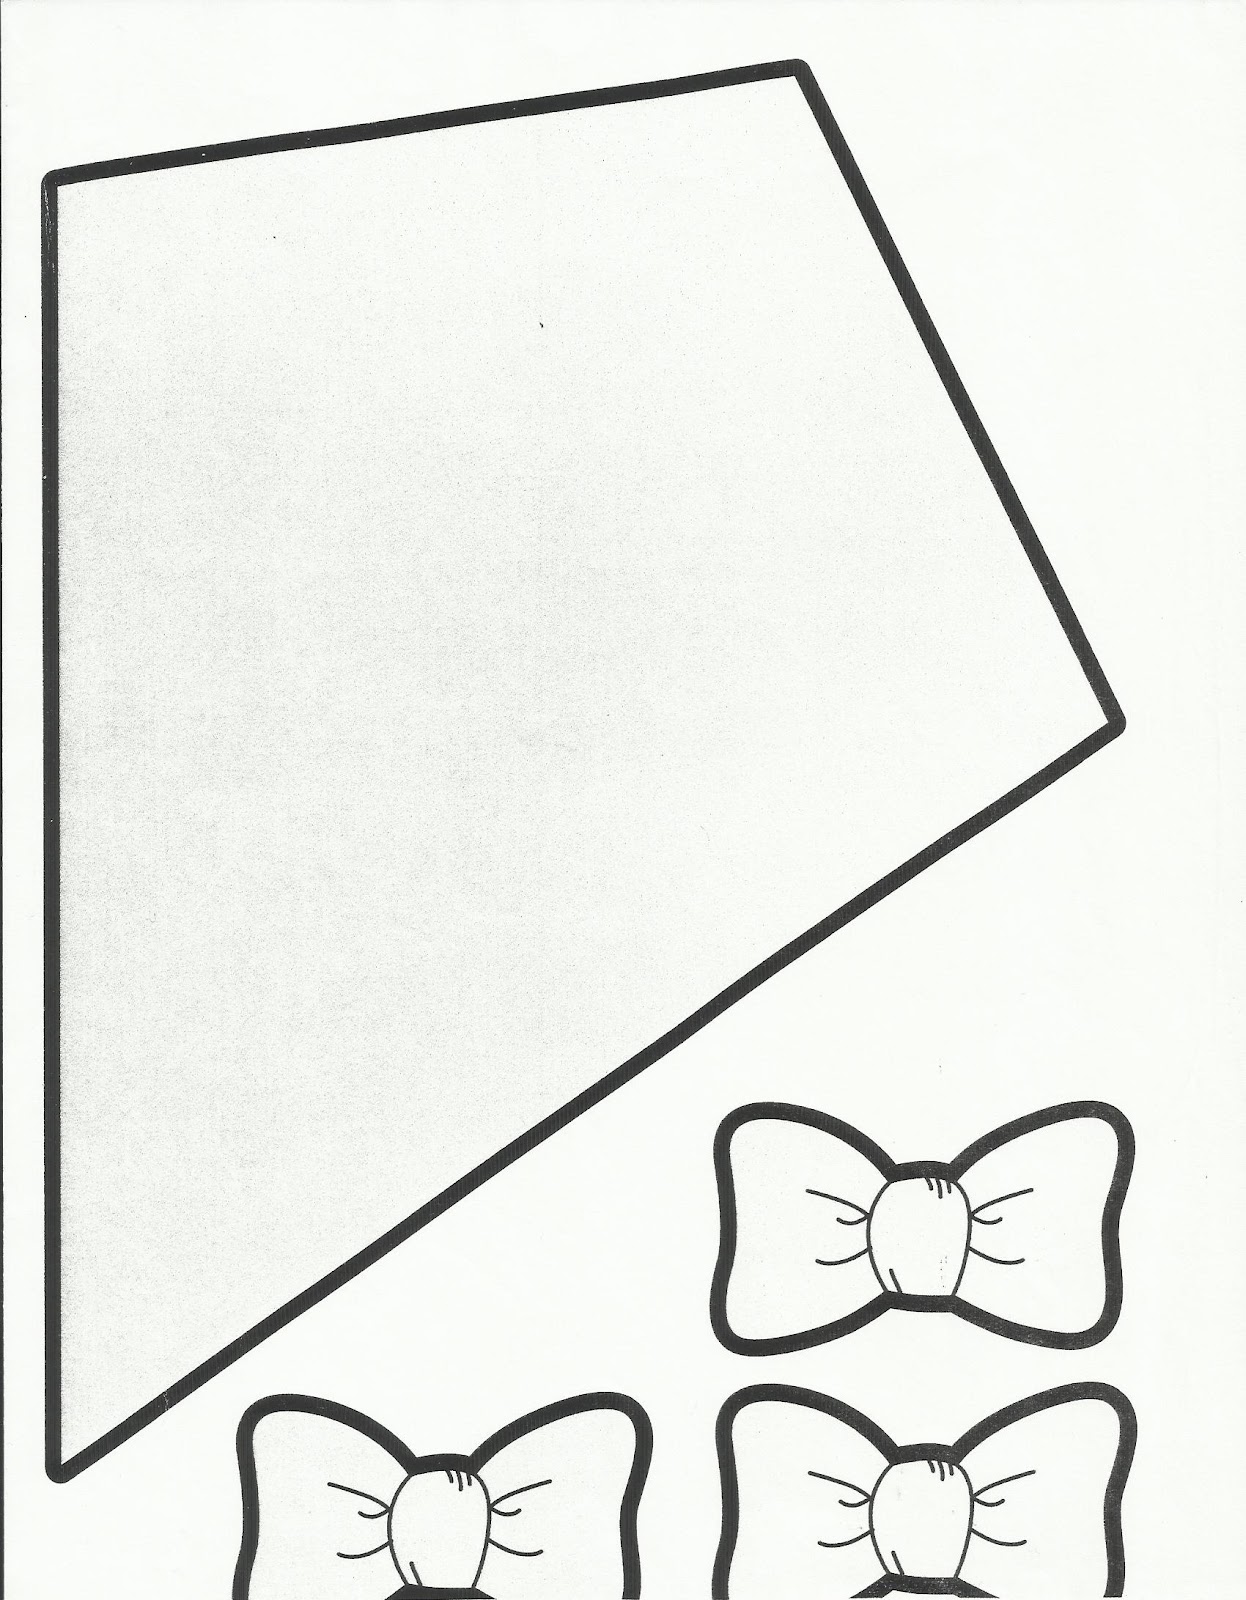
  • Kite Template
  • Scissors
  • Glue
  • Scotch Tape
  • Ribbon or Yarn
  • Crayons or Markers
  • Decorations: Craft Foam, Beads, Sequins, etc.
Detailed Instructions:
  1. Trace the kite template onto construction paper and cut it out
    • Use any color you would like
    • Also, trace the bows onto construction paper and cut them out
  2. Have the kid color and decorate the kite any way they like
  3. When the kite is finished being decorated, tape a short section of string to the back of the kite
  4. Tape the bows onto the string using small pieces of tape
Purpose:
Kids should be flying kites, not fighting cancer!

Kite Template (and ribbons):


Link:
http://www.allkidsnetwork.com/crafts/spring/kite-craft.asp

Thursday, July 17, 2014

Dream Catcher

Dream Catcher
by Kim King (4 Crazy Kings)

Snare those nightmares for good with this Sweet Dreams Beaded Dream Catcher!

Objective:
Make a paper dream catcher

Materials:

  • Paper Plate (plain or colored)
  • Scissors
  • Yarn
  • Feathers
  • Beads
  • Hole Punch
  • Stickers or Markers (optional)
  • Crayons (optional)

Detailed Instructions:
  1. Cut a hole in the center of the plate, leaving about two inches of edging
  2. Punch holes around the inside edge
  3. Tie a piece of yarn to the end of the feather. The length of the yarn will determine how far down your dream catcher hangs.
  4. String beads onto the yarn. When you're finished, tie several knots at the loose end of the string to act as a stopper and secure the beads in place
    • Tip: Roll a piece of tape around the tip of the yarn, like an anglet on a shoelace, before starting. This helps young kids slide the beads on, saving time - and frustration!
  5. Repeat step 4 until you have your desired number of strands
  6. Randomly string your remaining yarn through the holes bordering the plate. Add a few beads or stickers for extra decoration, if you like.
  7. Punch one hole for each beaded strand of yarn at the bottom of the plate and tie on your strands of beaded, feathered yarn
  8. Note: You can choose to decorate the dream catcher how ever you like by coloring it and/or adding stickers on it
Purpose:
To get rid of those pesky nightmares.

Link:
http://www.pbs.org/parents/crafts-for-kids/dream-catcher/

Wednesday, July 16, 2014

Airplane Piggy Bank

Airplane Piggy Bank
by Jessica (Brightnest)


Objective:
Your task is to make a piggy bank plane made of a water bottle

Materials:

  • empty plastc bottle (preferably a 500 mL water bottle)
  • thick paper (same thickness as that of a card)
  • double-sided tape
  • scissors
  • pencil

Detailed Instructions:

  1. Make a Coin Slot
    • Cut a rectangular slot about 1 inch long and a ½-inch wide in the side of the bottle. This is where you’ll drop coins into the piggy bank, so make sure it’s large enough to fit at least two quarters side-by-side.
  2. Design the Fuselage of the Plane
    • Draw two identical pieces for the back half of the plane that look like upside-down Ls. (These pieces are going to make up the back half of the fuselage and the plane’s rudder.)
    • Tip: Draw one side, and then use it as a stencil to draw the second side. That way, both pieces will be identical.
  3. Attach the Paper Fuselage and Rudder
    • Once the two pieces are cut, attach them to the plastic bottle with two-sided tape. Pay attention to where the coin slot is – you’ll need to cut into the paper over the coin slot opening
  4. Draw and Cut Two Engines
    • Draw two identical rectangles about 4 inches long and 1 inch thick on card stock paper. These are going to be your engines. 
    • Cut the rectangles out and then roll them into long tubes. 
    • Tape the tubes, and then attach them to the plastic bottle, one on either side. 
    • Note: You want your tubes to touch the “ground” because the engines also serve as “feet” to stabilize the plane piggy bank.
  5. Draw and Cut Two Wings
    • Draw two identical triangles with rounded tips on your card stock paper, which will become your wings. Cut them out and attach the wings above the engines.
    • Tip: It helps to fold a tab on the long edges of the cones for easy attachment.
  6. Draw and Cut the Plane Propeller
    • Using the bottle cap as a guide, draw your plane propeller. The bottle cap is going to secure the propeller onto the bottle, so you want the circle opening to be slightly smaller than the cap so it doesn't slip over it.
  7. Add Any Details
    • You now have a basic plane, but you can add some personality with extra card stock paper! Draw, cut out and affix windows and back wings. Let your child flex their creative muscles and draw faces in the windows.

Link:
https://brightnest.com/posts/for-kids-make-a-unique-piggy-bank-out-of-a-plastic-bottle